Inserting Media
How to insert media (such as sound and movie files) using the . Note: Media properties cannot be edited once media has been inserted. To modify media, simply delete it and reinsert it with the required properties.
- Click the Insert Media button and select Media Manager from the drop down list to open the Media Manager.
- Navigate to and select the required media. See "Using the Resource Manager"
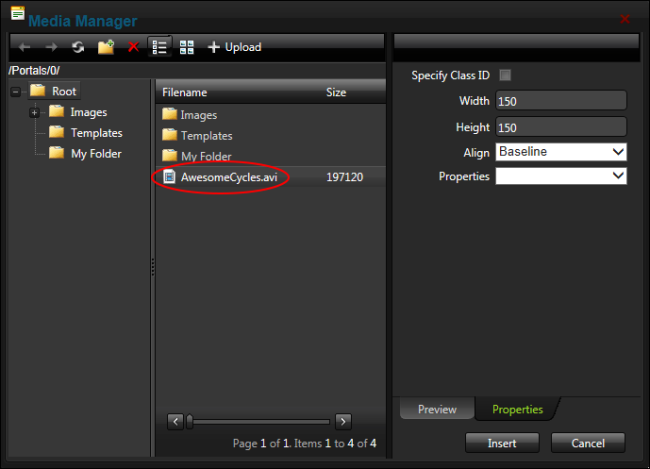
- Optional. Click the Properties tab and set the properties.
- At Specify Class ID, select from these options:
- Mark
 the check box to set a class for this media. This reveals the Class ID text box.
- In the Class ID text box, enter the name of the class to be applied to this Flash.
- Unmark
 the check box at Specify Class ID to hide the Class ID field and ensure all other fields can be set.
- Unmark the check box to use the default class.
- In the Width text box, enter the pixel value to set the media width. Leave blank to use the actual media size.
- In the Height text box, enter the pixel value to set the media height. Leave blank to use the actual media size.
- At Align, select the alignment.
- At Properties select a property to view more information on that property and select Yes or No as required. Repeat for each property as required.
- Click the Insert button.
Open topic with navigation